این آموزش به درخواست mega101 در سایت قرار داده شده است.
![]()
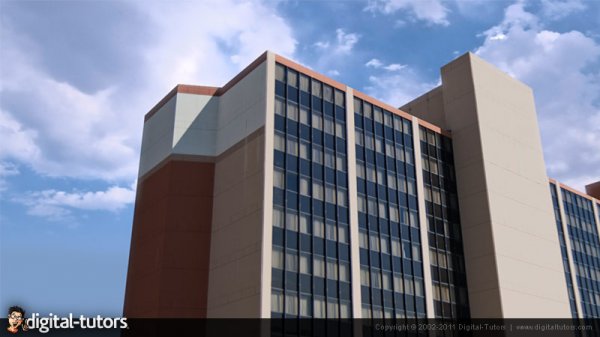
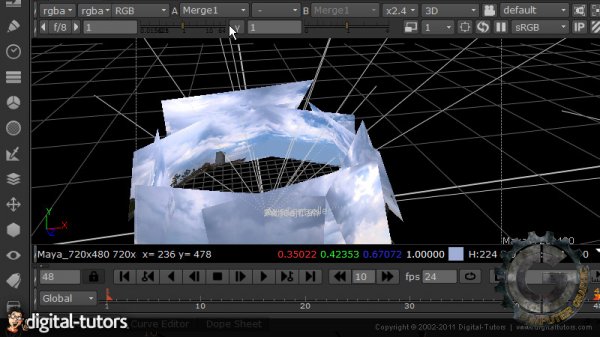
Digital Tutors - 3D Pan and Tile Sky Replacement in NUKE
Time : 1h 31m | Size : 486 MB | Project Files Included | Software Used : NUKE v6.2
با سلام
در این آموزش نحوه ی ساخت یک آسمان سه بعدی را با استفاده از پیمایش و Tile به شما آموزش می دهیم.با دوختن چند تصویر به هم ما می توانیم یک پیش زمینه ی بدل برای کومپوزیت خود طراحی کنیم.ما این آموزش را با فرا گرفتن نودهای کارتی در نیوک شروع می کنیم.سپس کارت خود را برای بدست آوردن تحریف لنز ( Lens Distortion ) درست ، تنظیم می کنیم.لنز خود را تنظیم و شبکه ی نود ها را برای سریعتر کردن تکرارها ایجاد میکنیم.پس از آن ما بقیه ی آسمان خود را به وسیبه ی برخی از ابزار ریاضی برای تشخیص محل تقریبی به یکدیگر وصل می کنیم.پس از آن تمامی دوخت ها را تا جای ممکن مخفی میکنیم.سپس تمامی آسمان را به هم وصل می کنیم.
مشاهده توضیحاتــ انگلیسی
In this NUKE tutorial weandrsquo;ll learn how to create a 3d sky using a pan and tile technique in NUKE. By stitching together multiple photographs, we will be able to create a fake sky background for our composite. Weandrsquo;ll begin this tutorial by learning about the card node in NUKE, and setting up the card to correctly have lens distortion, fit our lens, and set-up the initial node networks for faster duplication. We'll then connect the rest of our sky cards and use some math to make a rough placement. From there, we will refine the rotations and placement to hide as much of the seams as possible. We'll then tie all the cards together into an axis so we can control the entire sky using a single transform. After that, we'll match our sun placement, color correct our sky and render it separately to use z-blending to hide our seams. Finally, we'll learn how to fix issues with our tiles using NUKE and Photoshop, then do a few final compositing tricks and render our sky sequence.

